The Honeywell Pro Series offers an advanced line of thermostats designed for smart home integration, ease of use, and optimal HVAC performance, ensuring energy efficiency and compatibility with various systems.
1.1 Overview of the Honeywell Pro Series Thermostat
The Honeywell Pro Series Thermostat is a smart, user-friendly device designed to regulate HVAC systems efficiently. It offers advanced features like programmable scheduling, energy-saving modes, and compatibility with smart home systems. The thermostat is known for its intuitive interface and ability to optimize heating and cooling performance. It supports various HVAC configurations, including heat pumps and dual-fuel systems, making it versatile for different home setups. With its sleek design and robust functionality, the Honeywell Pro Series is a popular choice for modern households seeking comfort and energy efficiency.
1.2 Key Features of the Honeywell Pro Series
The Honeywell Pro Series thermostats boast a range of innovative features, including a high-resolution touchscreen interface, Wi-Fi connectivity for remote access, and geofencing technology to optimize energy use based on your location. They also offer smart alerts for system issues and energy usage reports to help you save money. Compatibility with smart home systems like Amazon Alexa and Google Home enhances convenience. The thermostats support multiple HVAC configurations, including heat pumps and dual-fuel systems. Additional features include a programmable schedule, energy-saving modes, and automatic software updates to ensure optimal performance and efficiency.
System Requirements and Compatibility
The Honeywell Pro Series thermostats are compatible with most HVAC systems, including heat pumps and dual-fuel setups, and require a C-wire or power adapter for installation.
2.1 Compatible HVAC Systems for Honeywell Pro Series
The Honeywell Pro Series thermostats are designed to work seamlessly with a wide range of HVAC systems, including 1 Heat/1 Cool, 2 Heat/1 Cool heat pump systems, and dual-fuel setups. They are also compatible with gas, oil, electric, and geothermal systems, ensuring versatility for various home configurations. The thermostats support both conventional and heat pump systems, making them a reliable choice for different climates and heating needs. Proper compatibility ensures optimal performance, energy efficiency, and seamless integration with existing HVAC infrastructure. Always verify system specifications to ensure a smooth installation process.
2.2 Technical Specifications for Installation
The Honeywell Pro Series thermostats require a 24V AC power supply and are compatible with 1-2-4 wire systems, supporting up to 3H/2C configurations. They operate within an ambient temperature range of -20°C to 70°C and humidity levels up to 80% RH. The thermostats are designed for wall mounting, with a standard J-box adapter for secure installation. They support dual-fuel systems and require a Class 2 transformer for power. The UWP mounting system ensures easy installation, and optional decorative cover plates are available for aesthetics. Always ensure wiring matches system requirements for proper functionality and safety.
Pre-Installation Steps
Verify system compatibility, gather tools, and ensure power is off. Prepare the installation site, removing old thermostats and ensuring wiring is labeled for proper connection.
3.1 Tools and Materials Needed
To install the Honeywell Pro Series thermostat, you’ll need a screwdriver, wire labels, and a voltage tester. Ensure you have the UWP Mounting System, J-box adapter, and decorative cover plate. Additional materials include AA batteries for backup power and compatible wiring connectors. A drill may be required for wall mounting. Always use a voltage tester to confirm power is off before handling wires. Keep the installation manual handy for reference. Organize all tools and materials beforehand to ensure a smooth and efficient installation process.
3.2 Safety Precautions Before Installation
Before installing the Honeywell Pro Series thermostat, ensure the HVAC system is turned off at the circuit breaker. Verify power is off using a voltage tester to avoid electrical shock. Do not mount the thermostat on an outside wall or in direct sunlight, as this may affect temperature accuracy. Keep the thermostat away from moisture and extreme temperatures. Handle wires carefully to prevent damage. Always follow the installation manual’s instructions and safety guidelines. Wear protective gear if necessary. Ensure the thermostat is level during installation to guarantee proper functionality. Failure to adhere to these precautions may result in system malfunctions or safety hazards.
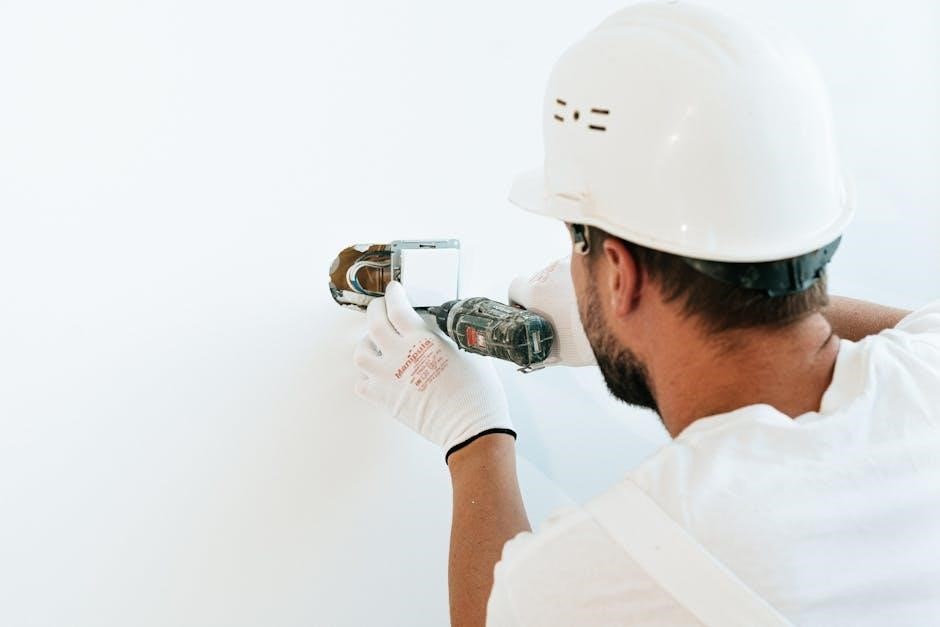
Installation Process
Mount the Honeywell Pro Series thermostat using the UWP Mounting System. Connect wires carefully to corresponding terminals. Insert AA batteries for power. Finalize installation by securing the thermostat to the wall, ensuring level placement for accurate operation. Refer to the manual for detailed wiring diagrams and step-by-step instructions to complete the process successfully.
4.1 Mounting the Thermostat
Mount the Honeywell Pro Series thermostat using the UWP Mounting System for secure installation. Separate the wall plate from the thermostat and attach it to the wall using screws. Ensure the wall plate is level to maintain accurate temperature readings. If necessary, use the J-box adapter for compatibility with existing electrical junction boxes. Once the wall plate is installed, gently snap the thermostat onto the plate until it clicks securely. For a clean look, optionally install the decorative cover plate. This mounting process ensures stability and proper functionality of the thermostat. Follow the manual for precise alignment and tightening instructions.
4.2 Connecting Wires to the Thermostat
Connect the wires to the Honeywell Pro Series thermostat by matching each wire to the corresponding terminal on the thermostat. Remove any wires from the old thermostat by depressing the terminal tabs. Insert the wires into the new thermostat’s terminals, ensuring they are securely held by the tabs. Refer to the wiring diagram in the manual for correct connections. After wiring, install the AA batteries for backup power. Finally, power on the HVAC system and test the thermostat to ensure proper functionality. This step ensures seamless communication between the thermostat and your heating or cooling system. Always double-check connections for accuracy.
4.3 Finalizing the Installation
After completing the wiring, insert the AA batteries for backup power and ensure all connections are secure. Power on the HVAC system and test the thermostat by setting a temperature to confirm functionality. Use the Honeywell Home app to access the hidden PRO installation feature for advanced configurations. Install the optional cover plate if necessary, ensuring a neat appearance. Conduct a final test of heating and cooling cycles to ensure smooth operation. Verify that the thermostat is not mounted on an outside wall or in direct sunlight and operates within the specified temperature range (-20°C to 70°C). Ensure the UWP Mounting System is securely fastened with provided screws and the thermostat is level. Double-check that all parts are correctly installed for optimal performance and reliability.
Configuring the Thermostat
Use the Honeywell Home app to configure advanced settings, set schedules, and enable features like geofencing and smart recovery for optimal energy management and comfort.
5.1 Basic Settings and Initial Setup
After installation, download the Honeywell Home app to configure basic settings. Set your preferred temperature, heating/cooling mode, and fan settings. Ensure your HVAC system type is selected for proper operation. Enable geofencing to adjust temperatures based on your location. Schedule daily temperature changes to optimize energy use. Check system compatibility and update firmware if needed. Use the app to test functions like heat pump operation and emergency heat. Review installer settings for advanced options. Save your preferences to start enjoying tailored climate control and energy savings with your Honeywell Pro Series thermostat.
5.2 Advanced Configuration Options
Advanced settings allow customization of your Honeywell Pro Series thermostat for enhanced performance. Enable geofencing to adjust temperatures based on your location or set up smart recovery for efficient heating/cooling. Customize schedules with multiple daily setbacks for energy savings. Access humidity control, fan circulation modes, and advanced HVAC system configurations. Use the Honeywell Home app to set temperature limits, adjust cycle rates, and enable energy usage reports. These features provide precise control over your home’s climate, optimizing comfort and energy efficiency while maintaining system compatibility and performance.
5.3 Scheduling and Automation Features
The Honeywell Pro Series offers robust scheduling and automation options, allowing you to create customized temperature plans. Set up to six daily setbacks for energy efficiency, or use geofencing to adjust temperatures based on your location. Smart recovery learns your system’s performance to reach desired temperatures by your scheduled time. Additionally, the thermostat integrates with smart home systems for voice control and remote adjustments via the Honeywell Home app. These features ensure seamless automation, optimizing comfort while reducing energy consumption. Advanced automation capabilities make it easy to maintain ideal conditions without constant manual adjustments.
Power Management
The Honeywell Pro Series features battery installation with AA cells for primary or backup power. It supports optional wired power and efficient dual-power operation for uninterrupted functionality.
6.1 Battery Installation and Backup Power
Installing batteries in the Honeywell Pro Series thermostat is straightforward. Insert two AA alkaline batteries into the battery compartment, ensuring correct polarity. The thermostat uses these batteries as a backup power source during electrical outages. For primary power, optional wired installation is available. The system automatically switches to battery power if the main supply fails, maintaining temperature control. A low-battery indicator alerts you when replacement is needed. Avoid using rechargeable batteries for optimal performance. This dual-power capability ensures uninterrupted functionality, providing peace of mind and energy efficiency.
6.2 Managing Power Settings for Efficiency
Optimizing power settings on your Honeywell Pro Series thermostat enhances energy efficiency without compromising comfort. Start by creating a schedule that adjusts temperatures when you’re away or asleep. Utilize geofencing to automatically start heating or cooling based on your location. Enable smart recovery to gradually reach desired temperatures before scheduled times. Review energy usage reports via the Honeywell Home app to track and reduce consumption. Activate vacation mode for extended absences and set a narrower temperature range to minimize system workload. Explore adaptive learning for automated efficiency and consider energy-saving modes like turning off the fan when the system isn’t active. These features collectively help in achieving optimal energy savings while maintaining comfort.

Troubleshooting Common Issues
Troubleshooting the Honeywell Pro Series involves identifying issues like display inaccuracies, connectivity problems, or system malfunctions. Refer to the manual for solutions or reset the thermostat to factory settings if needed.
7.1 Common Installation Problems and Solutions
Common issues during Honeywell Pro Series installation include incorrect wiring connections, system incompatibility, or display malfunctions. Ensure all wires are securely connected to the correct terminals. If the thermostat fails to power on, check battery installation or wiring connections. For system incompatibility, verify that the HVAC system matches the thermostat’s specifications. Display issues may require resetting the thermostat to factory settings. Refer to the manual for detailed troubleshooting steps or contact Honeywell support for assistance. Proper installation and setup are crucial for optimal performance and energy efficiency.
7.2 Resetting the Thermostat to Factory Settings
To reset the Honeywell Pro Series thermostat, navigate to the menu, select “Factory Reset,” and confirm. This erases all custom settings, returning the device to its default state. After resetting, the thermostat will reboot and require reconfiguration of settings like schedules and temperature preferences. Ensure all configurations are set up again for optimal performance. This process helps resolve software issues and ensures proper functionality. Always refer to the manual for specific instructions to avoid any operational problems. Resetting is a useful troubleshooting step for maintaining efficiency and reliability.
Warranty and Support
Honeywell Pro Series thermostats come with a comprehensive warranty covering parts and labor. Dedicated customer support is available through online resources, FAQs, and direct contact options for assistance.
8.1 Warranty Information for Honeywell Pro Series
The Honeywell Pro Series thermostat is backed by a 5-year limited warranty, covering defects in materials and workmanship under normal use. Registration is required for full coverage. The warranty excludes damages from misuse, improper installation, or unauthorized modifications. Repairs must be performed by authorized Honeywell technicians to maintain validity. This warranty underscores Honeywell’s commitment to quality and customer satisfaction, ensuring reliable performance for years to come.
8.2 Contacting Honeywell Support
For assistance with the Honeywell Pro Series, customers can contact Honeywell Support through various channels. Visit the official Honeywell website for phone numbers, email options, and live chat support. The website also provides a comprehensive resource library, including manuals, FAQs, and troubleshooting guides. Additionally, the Resideo Pro app offers in-app support features for registered users. Honeywell’s dedicated support team is available to address installation, configuration, and warranty-related inquiries, ensuring prompt resolution and optimal product performance. Reaching out to Honeywell Support is a reliable way to resolve any issues and maximize the benefits of your Pro Series thermostat.
The Honeywell Pro Series offers a user-friendly, energy-efficient solution for smart home temperature control. With proper installation and configuration, it ensures optimal performance and comfort year-round.
9.1 Final Tips for Optimal Performance
For the best results with your Honeywell Pro Series thermostat, ensure proper scheduling and automation settings to maintain consistent temperatures. Regularly update your device’s software to access new features and improvements. Check energy usage reports to optimize your settings and reduce consumption. Always verify compatibility with your HVAC system and wiring configuration. Use the Honeywell Home app for remote monitoring and adjustments. Lastly, consider professional assistance if you encounter complex issues during installation or operation.